Categories
Professional-Organizer

Week 2 | 52 Weeks to Downsize and Minimalize | Setting Intentions

Set Intentions for The New Year & Life

The following are three ways to plant the seeds of Intention for Success. I recommend practicing all three for best results.

No. 1: Create a free-writing journal of what you want, why, and what you intend to do to live it. The journey from the mind down the path through your heart and onto the page is an important one. Save you writings digitally in a folder on your desktop, in the notepad of your smart phone, or in a paper journal, and revisit weekly or monthly to be reminded of your intentions.

No. 2: Write one or two short sentences for each Intention -as if they are happening now- and place them where you will see them daily. Some ideas include on the desk, refrigerator, computer desktop screen, the mobile phone home screen. There may be days you are too busy to notice them, but they are still there, and soon enough you will see your intentions and be reminded.

Here are two Intentions I set for myself this week

  • I read lots of library books, my vocabulary is expansive, and conversations with friends, colleagues, and strangers are fun and exciting!
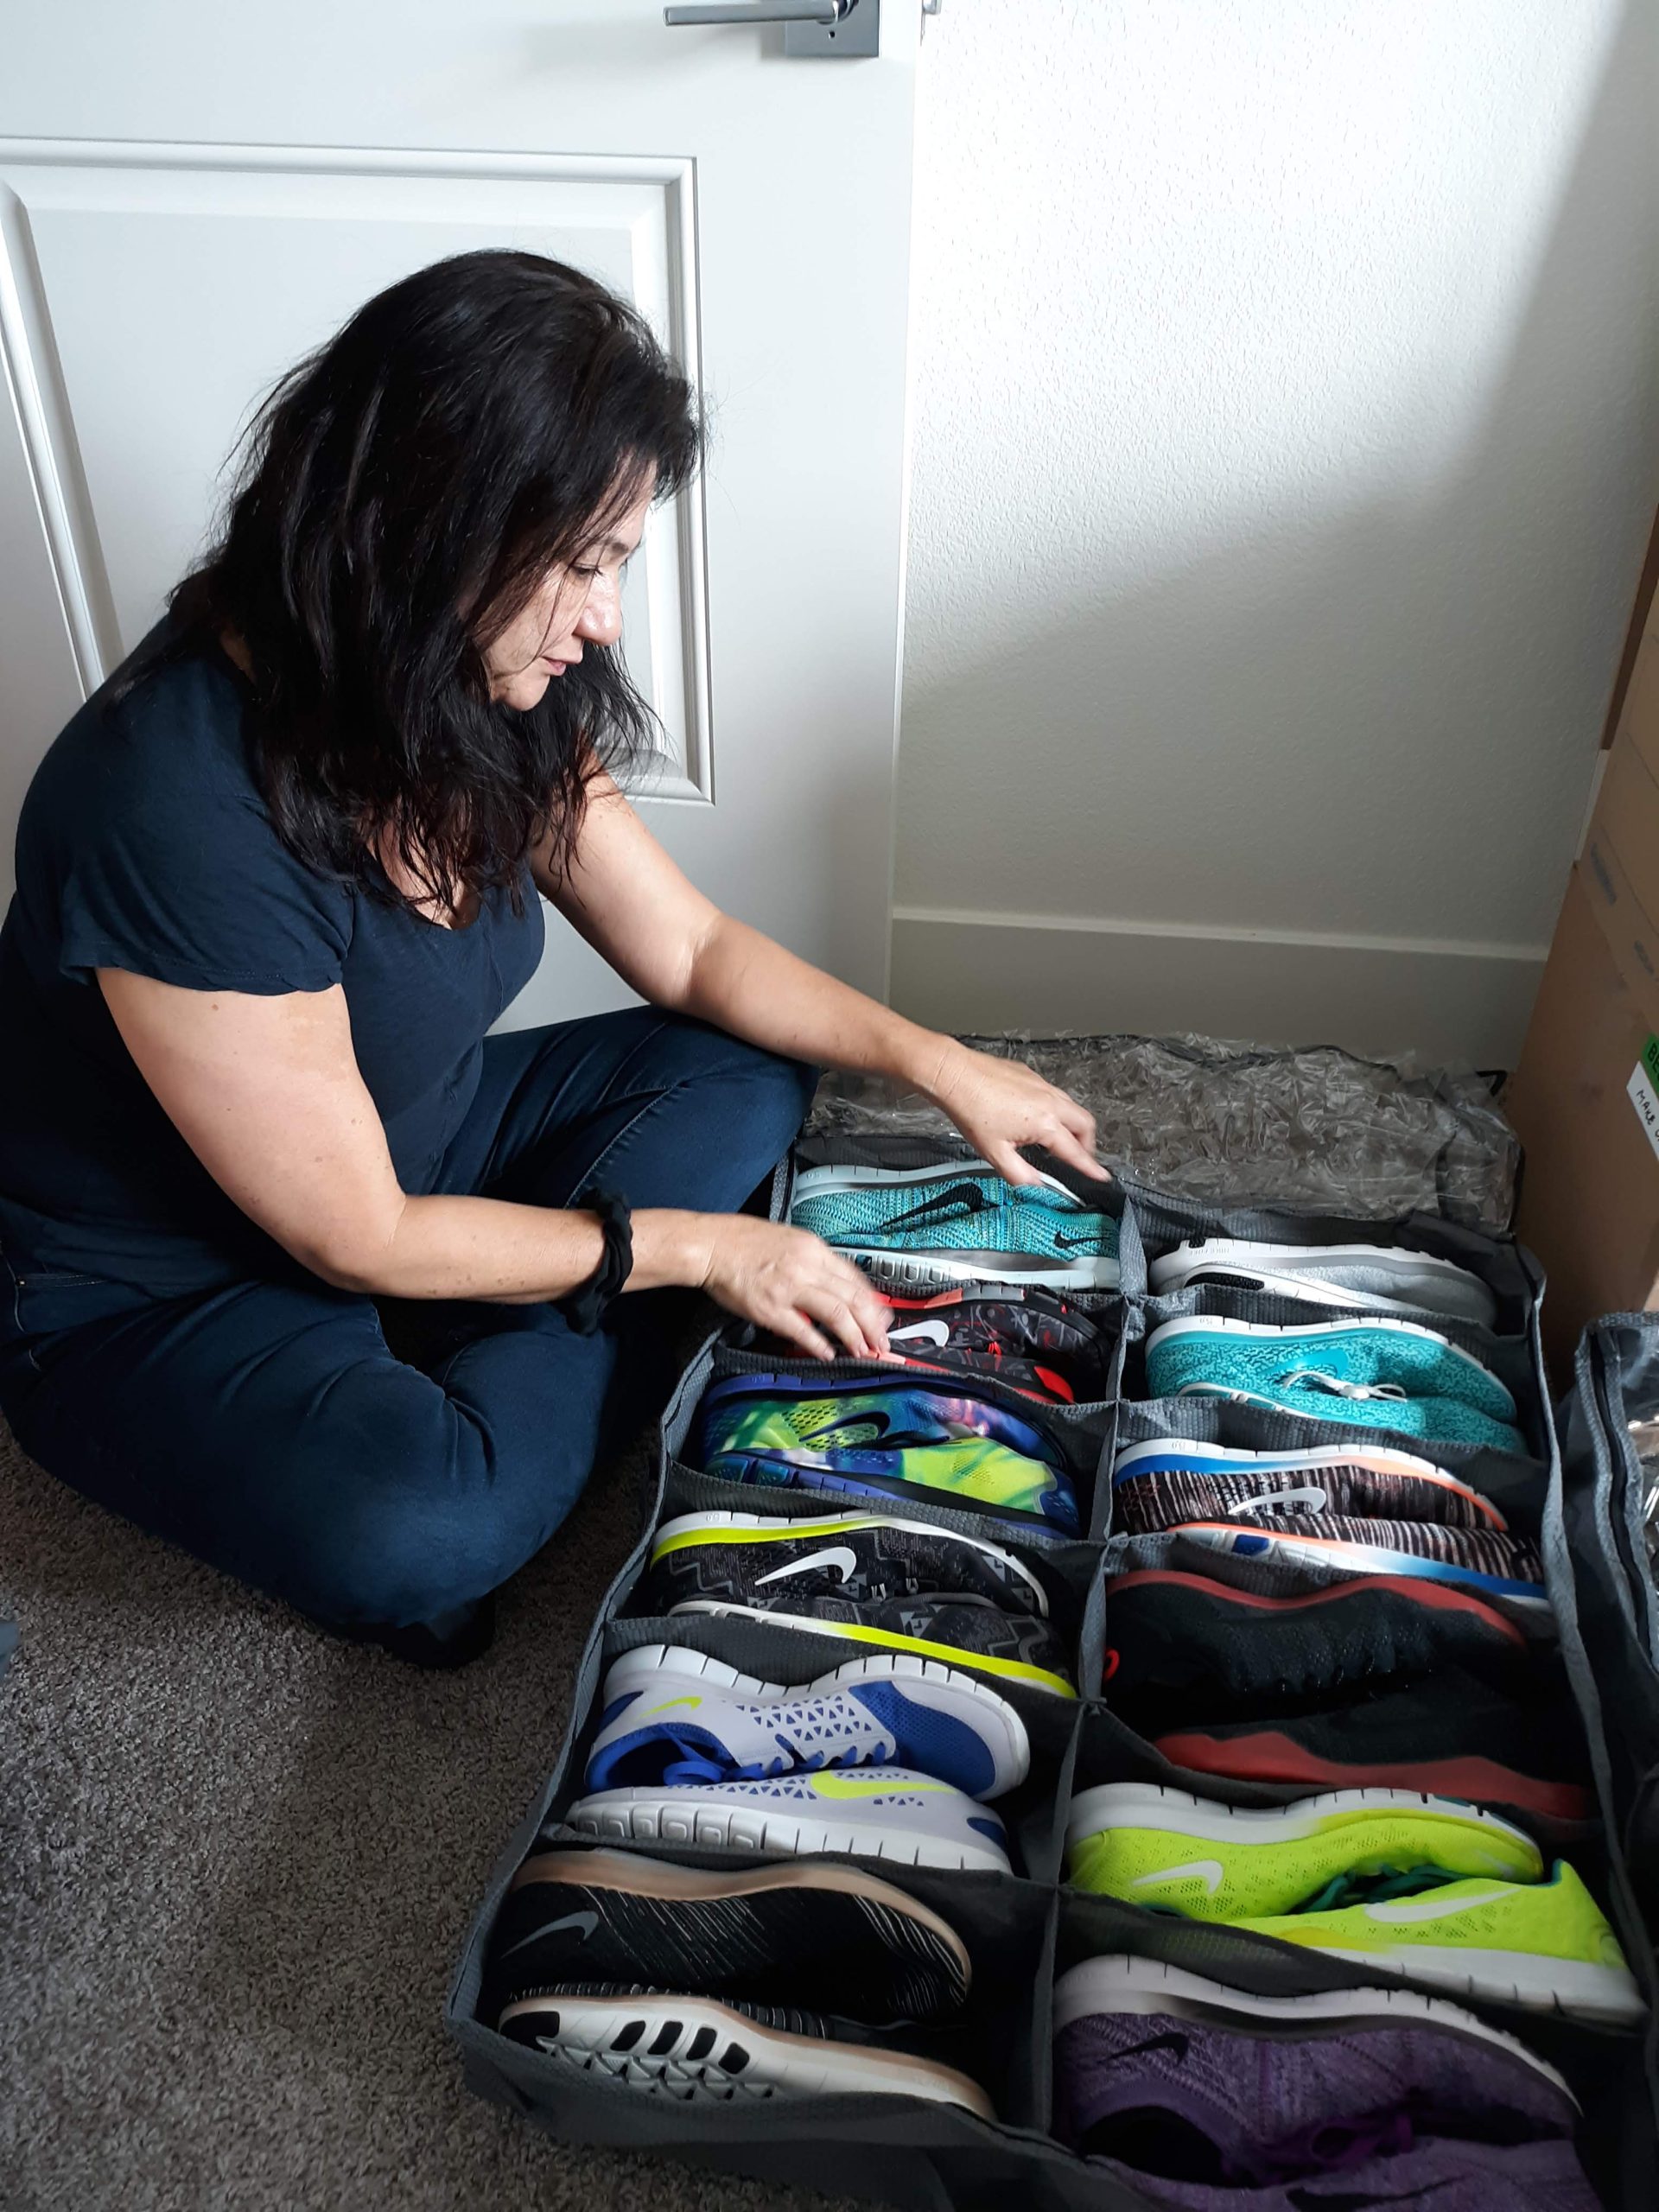
  • I wear my best and most comfortable shoes. I only need a minimal amount of shoes, and am donating the rest to people in need.

(Read Week #1 What and Why to learn the juicy details of why I set these intentions.)

No. 3: Create a vision board of your Intentions and what it looks like to live the life you want. This can be a sketch, painting, or collage of pictures and written intentions on a 8.5×11 piece of paper or large poster board. Place it where you will see and be reminded of your vision daily. See #3 in this link for a sample vision board.

Next Step: Live life. Once you plant the seeds of intention, and place reminders for yourself around your home, it’s time to let the life you want miraculously unfold.

What Is Intention?

Intention is like a seed. You grow it like a plant. It thrives when cultivated and cared for, and wilts when neglected, but never truly dies.

Intention lives in the heart. Once you set an intention from the heart, it is always there. You plant the seed. There may be days, weeks, and months you forget your intentions, and it may seem as if they are disappearing from your life, but they are still there.

Memory allows us to reflect on the past, and to remember our intentions planted from the heart. Once you recall your intentions, the heart begins to stir. When you begin to act on your intentions, they start to grow and thrive. The more you exercise your intentions, the stronger the heart grows. Soon you will live them out every day, without thinking much about them, because your heart’s intentions are strong and become a way of life. The more you feed your intentions, the more they will feed you. It is a strong, symbiotic relationship that gives you nourishment and strength to be true to your intentions every day. It becomes an unconscious way of life.

Goals focus on achievement. Intentions provide integrity and unity that build a foundation for a way of life.

Setting_intentions_bella_organizing_52_weeks_downsize_minimalize

Setting intentions is different from goal setting, as it’s not oriented toward a future outcome. You set intentions based on the understanding of what matters most to you and make a commitment to align your present actions with them. It is a practice that focuses on the relationship between you and the seeds you plant. Through cultivating your intentions, you learn to make decisions about ways to grow your seeds without getting caught up in the idea of reaching a destination. You are not expecting yourself or the seeds to be perfect, but rather allowing the flexibility of learning the beautifully diverse ways of being and doing, while working toward the healthy growth and development of your heart’s intentions.

My Personal Intention for Happiness

“Happiness is not a state to arrive at, but a manner of traveling.”  -Margaret Lee Runbeck

This popular quote has served me in life for decades. When I first read it, I connected with it deeply. It soon became the signature quote in my personal email, and is the quote I use to this day in my personal Facebook bio. I place it where I see it often so I can always recall what matters to me most and share with others the idea that happiness is not an end goal, but rather a way of living.

Seeing this quote reminds me to let go of negativity and move on. I do what I need to be happy in life, and at times it means passing up, or re-directing myself, out of the path of toxic people and situations that build up along the way.

I am no longer on an endless search for happiness. I own it.

I set the intention for happiness in life, and exercise it regularly through positive thoughts of gratitude for all good things that have happened in the past, or are yet to come. Life is not perfect and there are occasional bumps along the road, but if there were not bad days I would take for granted all the good. This contrast is a blessing and reminder for me to appreciate the beauty of happy times in the past and present, and what I have to look forward to on the journey to come.

I know what happiness is.

When a day is bad or things go wrong, I recall the happiest times in my life, and through that, know what needs to be done to lift myself out of the ditch I’ve fallen into. Perhaps the mud in the ditch is a skin-nourishing mud bath blessing in disguise. Lifting yourself out of the ditch starts with perspective and attitude, is sugared by reflection and appreciation, and expands from there. I need only to remind myself to keep moving.

Bella_Organizing_Best_Professional_Organizers_San_Francisco_Oakland_Berkeley_silicon_valley_montereyIsabella Guajardo, founder and owner of Bella Organizing, is a San Francisco Bay Area professional organizer offering home organizing, interior redesign, and residential move management services throughout the Greater San Francisco Bay Area. Call (510) 229-7321 or email info@bellaorganizing.com for more information. Gift certificates are available.

Follow our projects on: Facebook | TwitterInstagram | Houzz

Counties we serve:

Alameda | Contra Costa | San Francisco | Marin | Sonoma | Napa | Santa Clara | San Mateo | Santa Cruz | Monterey

Categories
Professional-Organizer

Declutter Shoes

Clear the old out and make room to breathe.

As with clothing, when I acquire shoes, I have a rule to let go of as many pairs as I bring in to make room for the new. It’s tough! But reality is, many of us only wear a few favorite pairs and let the others sit to gather dust.

Let ’em go when…

  1. They are worn to the breaking point, the sole or heal is warped, torn, or coming off and you’re not willing to drop them off at a shoe repair shop this week to fix.
  2. They have not bedazzled your feet for a year or two. Like clothes, if shoes are not worn over the last winter, spring, summer, nor fall, they probably never will be. Do you own a pair of special occasion shoes? Have you worn them lately? Are they covered with dust so thick you can no longer tell the color? Are they still in style?
  3. They are no longer your color, size, style, or worth the pain. No longer your color? Are they a style from an era long past that you shouldn’t be revisiting? Has the size of your foot changed? Do they hurt your feet? There’s no such thing as a “break in period” with shoes, in my opinion. If they hurt on day one, they don’t belong on your body. Your feet are precious, and bad-fitting shoes can do serious damage.
  4. They are ugly or dirty beyond cleaning. We are known to buy things we don’t truly like because it’s on sale, or keep something that was a gift and feel bad at the thought of getting rid of it. “What if Aunt Wanda comes over and doesn’t see me wearing them?” Aunt Wanda probably gave you the shoes she bought on sale for herself and realized she didn’t like them when she got home. “They just need to be shined and they will look great!” If so, now is the time to take out the polish and get the job done, or drop them off at the shoe repair shop this week for a professional cleaning.

When it’s time to let go…

Step One – Declutter

  • Take a “Before” photo of your shoe space.
  • Prepare the floor or a large nearby surface to place shoes onto. Use an old sheet or blanket you’re willing to get dirty if using the bed.
  • Have on hand plenty of bags for donations or consignments.
  • Grab a pen and pad of paper for notes or use the notepad on your cell phone (“Take shoes for cleaning and repairing.”)
  • Prep a bottle of all-purpose cleaner, a rag, broom, or vacuum cleaner.
  • Grab a shoe brush and the shoe polishing kit. Don’t have one? A clean, soft rag will do.
  • Go through each pair of shoes, and put what you no longer want in the “Donation” or “Consignment” bags. Set aside each pair you keep.

Step Two – Clean

  • Dust, sweep, mop, or vacuum the area where you will put the shoes back. So many dust bunnies! Dust is made up of dead skin cells, pet dander, dirt you’ve trekked in on your shoes, pollen, and other things from outside. This is a reason why so many people have “no shoes” rules in their homes.
  • Dust each pair of shoes thoroughly with a shoe brush or clean rag. Do this outside or out an open window. You can also gently vacuum dust from inside each shoe with an attachment hose.
  • If you have time, polish the shoes that need it most before putting them back. Or set those aside to be professionally cleaned, polished, or to repair.

Step Three – Organize

  • If going back onto a shelf, rack, or the floor, display shoes front forward as you find them in a department store.
  • If you need to maximize space, place one shoe forward and the other in the opposite direction, heel showing. This magically creates space both on shelves and in hanging shoe nooks. Try it!
  • Still not enough room? Place sandals and flats upright in a basket to store on a shelf or the floor.
  • Use an under-bed shoe organizer that zips closed and is easy to quickly slide out to grab what you need.
  • Roll up old magazines and place inside tall boots to help keep their shape.
  • Take an “After” photo of your fresh and organized shoe space.

Considering selling or consigning unwanted shoes? Read about my favorite places to do that!


Bella_Organizing_Best_Professional_Organizers_San_Francisco_Oakland_Berkeley_silicon_valley_monterey

Isabella Guajardo, founder and owner of Bella Organizing, is a San Francisco Bay Area professional organizer offering home organizing and residential move management services throughout the Greater San Francisco Bay Area. Call (510) 229-7321 or email info@bellaorganizing.com for more information. Gift certificates are available.

Categories
Professional-Organizer

Declutter the Junk Drawer

Declutter First, Organize Next. 

Discard what you don’t need and it magically creates space that makes cleaning and organizing easier. Let go of the old and unnecessary, expired, used up, what upsets you, what’s no longer your style, and that which takes up space you need for something more meaningful. It’s time to say goodbye and move on…  

Step One – Declutter the Junk Drawer

utility_junk_drawer_before_after_bella_organizing
  • Clear off a nearby surface on which to place things coming out of the drawer.
  • Gather one or more paper grocery bags for discards. Label one “Hazardous/E-Waste.” Have another bag handy to carry things that need to live elsewhere in the house. Keep the trash and recycle bins nearby. Read about what is considered Hazardous Waste and how to properly dispose of it.
  • Prep a bottle of all-purpose cleaner or mild soap, and a clean sponge or rag.
  • Grab a pen and pad of paper for notes, or use the notepad on your cell phone.
  • Open the junk drawer and take a few “Before” photos.

IMPORTANT REMINDER: Old and expired batteries and any kind of cords or wires, working or not, is hazardous waste and should not be thrown in the trash, recycle bin, or poured down drains. Take the following steps and avoid putting mother earth in danger.

earth_911_logo

Prepare to Drop Off Household Hazardous and e-Waste

One of the safest ways to dispose of old batteries, lightbulbs, cords, wires, and other types of electronic “e-waste” is during drop-off days that local businesses, schools and community organizations host throughout the year. You can also go to Earth911.com or do in Internet search for a “household hazardous waste center” to find drop-off locations near you. Whether you rent or own, most waste management companies have special directions for you to follow to properly dispose of hazardous waste locally to you and often free of charge, check your local waste management company’s website for details.

Now that you know how to properly handle hazardous and e-waste…

  • Take everything out of the drawer. Toss what you no longer want into the trash, recycle bin, in a donate/giveaway pile, or into the “hazardous waste” bag. Don’t know if the batteries are good? Watch this Youtube video for a quick way to check.
  • Is there anything in the drawer that belongs elsewhere in the house or garage? If so, take it where it needs to be.

Step Two – Clean 

  • Clean inside the drawer with a wet and warm, soapy cloth. Allow the surface to dry completely before putting things away. You may want to put down drawer liner to protect the surface from future damage. Spongy liner works great for keeping things from rolling around. 

Step Three – Put Things Back and Organize Your New “Utility” Drawer

creatively reuse small gift boxes for office and utility supplies.
Creatively reuse small boxes for office and utility supplies. Use old jewelry gift boxes, iphone boxes, or colorful business card boxes like these.
  • Now that you are cleaning out the drawer, is there anything left to go back in it? What should an organized “Utility” drawer consist of?
  • Useful items for a “Utility” drawer may include a screwdriver, scissors, pliers, utility knife, marker, pen, notepad, a few rubber bands, small roll of tape, small ball of twine, small flashlight, fresh batteries, safety pins, tweezers, tape measure, lighter or matches, small emergency sewing kit, a few band-aids, a couple small binder or chip clips.
  • If you continue to keep chargers, cords, or wires in the drawer, roll up and keep them in check with a rubber band or velcro cord strip.
  • Return what belongs back to the drawer.
Bella_Organizing_Best_Professional_Organizers_San_Francisco_Oakland_Berkeley_silicon_valley_monterey

Isabella Guajardo, founder and owner of Bella Organizing, is a San Francisco Bay Area professional organizer offering home organizing, interior redesign, and residential move management services throughout the Greater San Francisco Bay Area. Call (510) 229-7321 or email info@bellaorganizing.com for more information. Gift certificates are available.

Categories
Professional-Organizer

Declutter the Medicine Cabinet

Declutter First, Organize Next. 

Discarding what you do not need is key to creating valuable space that will make cleaning and organizing easier. Let go of the old, expired, outworn, used up, what upsets you, what’s no longer your style, and that which takes up space you need for something more meaningful. It’s time to say goodbye and move on…

 Declutter the Medicine Cabinet
medicine_cabinet

Step One 

  • Prepare a nearby tabletop surface on which to place things when removing them from the cabinet. Avoid bending down and putting items on the floor whenever possible (saves the back).
  • Gather one or more paper grocery bags for discards. Label one “Hazardous Waste” and another “Donate” (for items still in good condition that you plan to give away.)
  • Prep a bottle of all-purpose cleaner or mild soap, and a clean sponge or rag.
  • Grab a pen and pad of paper for notes, or use the notepad on your cell phone in case you come up with a thing or two for your “To Do” list.
  • Open the medicine cabinet and take a few “Before” photos.

IMPORTANT REMINDER: Old and expired medicine AND vitamins is hazardous waste, and can turn into something potentially dangerous. You can’t just flush them down the toilet or toss them in the trash. Take the following steps and avoid putting anyone or anything – people, kids, pets, fish in the ocean – in danger.

earth_911_logo

Drop them off…

One of the safest ways to dispose of old medicine and vitamins is to take advantage of drug drop-off days your city or local community organizations host throughout the year. The U.S. Environmental Protection Agency recommends drop-off events as the first choice of disposal for over and under the counter drugs, including vitamins. Do an internet search for ones near you or go to Earth911.com for independent drop-off locations. When dropping off anything with your personal information on it, be sure to black out your name and address with a marker. DO NOT black out the drug name, since hazardous waste facilitators need to know what it is. And DO NOT mix a lot of different drugs into one small unmarked bag, for the same reason.

Take them back…

Take unwanted and expired drugs or vitamins back to the store where you bought them if your city or town doesn’t hold drop-off events or if there is not a household hazardous waste collection center near you. If the store has an on-site pharmacy, the employees may be able to properly dispose of them. Speak to your local pharmacist about it.

Do not ever, ever, EVER…

Do not flush old or expired medicine or vitamins down the toilet, cautions the EPA and FDA. While this is a high concern with prescription medications, vitamins can also leach into the water supply and cause safety risks. Don’t dispose of them down drain pipes nor empty them into a garbage or compost bin. Children and animals can get into and eat them.

Lots of other things are stored in medicine cabinets, and many do not have expiration dates. These can include hairspray, hair gel, toothpaste, lotion, face toner, contact lens solution, sunscreen, deodorant…all of which should be considered for disposal, too. How old are they? Do you ever use it? Do you even like it? If it does not have an expiration date and you’ve owned it for more than two years, consider it old. If it’s not face or body soap, nor earth-friendly cleaning fluids meant to go down the drain, it should not go down the drain. Play it safe and place anything else old and unwanted into the hazardous waste bag. Personally, I consider anything made with scientifically named chemicals hazardous waste, and always include it in my next visit to the household hazardous waste center. If anyone’s going to dispose of these things the safest way possible, it’s them.

Now that you know how to handle the discards…

  • Pick up each item in the medicine cabinet and find the expiration date. If it’s expired, it goes into the “hazardous waste” bag. Don’t take chances with old vitamins, medicine, or anything you put in or on the body.
  • Place anything you are keeping on a nearby surface for later.

Step Two 

Clean 

  • Inside and out, wipe the empty medicine cabinet with a wet and warm, soapy cloth. Regular cleaning will keep it in good shape. Allow surface to dry completely before putting things away.


Step Three 

Put Things Back and Organize

  • Return what you keep back to the cabinet, place like items near each other, labels facing forward: medicine, vitamins, hair products, face products, etc.
  • Take an “After” photo of your freshly organized medicine cabinet.
Was this a quick and easy project for you? Are you motivated to declutter more from the bathroom? If so, tackle all the shampoos, conditioners, soap, make-up, and toiletries under the sink, in the shower, or stashed in other areas of the home.

Bella_Organizing_Best_Professional_Organizers_San_Francisco_Oakland_Berkeley_silicon_valley_montereyIsabella Guajardo, founder and owner of Bella Organizing, is a San Francisco Bay Area professional organizer offering home organizing, interior redesign, and residential move management services throughout the Greater San Francisco Bay Area. Call (510) 229-7321 or email info@bellaorganizing.com for more information. Gift certificates are available.

Categories
Professional-Organizer

Getting Ready for Winter: Wardrobe Organizing Tips for Cold Weather

When it’s time to get organized for the changing season…

scarves_declutter_decluttering_organize_bella
Roll scarves and place them in a hanging bin, basket, or drawer for easy access.

If you’re like most of us and have limited closet space, you may need to store seasonal clothing. In preparation for cold weather, you might consider storing away the summery things and bringing out what you’ll need to stay warm and comfortable. It’s also a good time to purge.

Purging Tips

Say “goodbye” to clothing, shoes, and accessories when:

  • You have worn or used it to the point of fading, pilling, stains, stretching, or tearing
  • You have not worn or used it for an entire year or two
  • It is no longer your color, size, or style

 How to store off-season items.

  • Use containers with lids or large storage bags; cover to protect from dust, dirt, fluctuating temperatures, and little critters.
  • Treat them well. Clean, de-wrinkle, and fold or nicely hang before storing. Cared for clothing lasts longer, takes up less space, and can be worn immediately when it’s time.
  • Store items in a temperature-controlled environment, particularly natural materials such as leather, wool, and silk. Never store clothing in damp places that tend to breed mold or mildew, nor in extreme hot or cold temperatures.
  • Label bins or bags with a description of contents and store under the bed, high on a top shelf, in the guest room closet, on a garage shelf, or on a covered rolling rack.

Keep sweaters, jackets, scarves, warm hats & socks, cozy boots, gloves, and an umbrella within reach.

  • Sweaters keep their shape best when folded and stacked in dresser drawers or on reachable shelves. Lightweight sweaters do well hung as long as you wear often enough to retain their shape.
  • Roll winter scarves and place in a slim hanging canvas organizer  in the entry closet (which I also like for small purses, hats & beanies, gloves, compact umbrellas, and other accessories,) or stack them in a dresser drawer or bin on a shelf.
  • Keep gloves close to scarves or within coat pockets. I buy several sets of $1 gloves at CVS or Target and store a pair in the pocket of each jacket. They’re always there when I need them.
  • Keep long socks, thermal underwear, and cold-weather leggings together. More tips to organize tights, leggings, and long socks here.

Take the time to organize your closet and wardrobe for the changing season, and you’ll have what you need in a cold-weather flash.

____

Ready for more? Call (510) 229-7321 today to schedule a complimentary estimate for your wardrobe and closet organizing goals. Gift certificates are available.