Categories
Professional-Organizer

Declutter the Wardrobe Closet

Say farewell to what you don’t need and magically create space that makes cleaning, organizing, and finding things easier.

When I acquire clothing, I have a rule to let go of as many as I bring in to make room for the new and stay uncluttered. I reinforce this rule by only owning a certain number of hangers (I hang 90% of my clothes.)

Let it go when:

  1. It’s been worn to the point that it is fading, pilling, stretching, or tearing. Why stroll around in public with a t-shirt that’s old and raggedy? The two old t-shirts I own are for gardening and dying the hair. If there’s something waiting to be mended and it’s been waiting a long time, it’s time to get it done or let it go.
  2. It has not been worn for an entire year. If a piece of clothing has not bedazzled the body over the last winter, spring, summer, nor fall, it likely never will. This includes those “skinny” clothes; the things we keep telling ourselves year after year that we will fit back into someday.
  3. It is no longer your color, size, or style. Why wear something and get annoyed every time you put it on? Not your color? Not tailored for your body? Just a little too tight or baggy? If it doesn’t make you feel fabulous or fit just right, are you ready to take it to the tailor and pay to get it fixed?

“Well…I kinda like it…but….”

Let’s get started…

Step One – Declutter the wardrobe closet & dresser drawers

  • Prepare a nearby surface on which to place clothes. A clean, made bed will do.
  • Have on hand plenty of trash or paper bags for donations or items to consign.
  • Prep a bottle of all-purpose cleaner or mild soap, a clean sponge or rag, broom, and mop or vacuum cleaner.
  • Grab a pen and pad of paper for notes or use the notepad on your cell phone.
  • Go through the hanging clothes and immediately remove the absolute “must go’s” first. Put what you no longer want in bags marked for “Donations” or “Consignment/Sell” bags. Leave hanging what you want to keep. Set aside the “maybe’s.”
  • Try on the “maybe’s” if you have time. If you cannot decide now, re-assess them again in a few months.
  • Do the same for clothing on shelves and those that have toppled to the ground. Go through dresser drawers and anywhere else you keep and store clothing, socks, and undergarments. Purge the old, worn, and unwanted. If you need help seeing the truth about the condition of something, call in a friend, housemate, or family member for assistance.

Step Two – Clean

  • Clean inside the closet and dresser drawers and sweep, mop, or vacuum while you’re here. So many dust bunnies! Dust is made up of dead skin cells, pet hair, pollen, and dirt you’ve trekked in on your shoes from the outdoors, amongst other things.

Step Three – Hang, Fold, and Organize

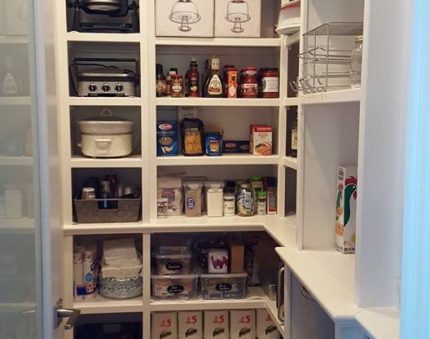
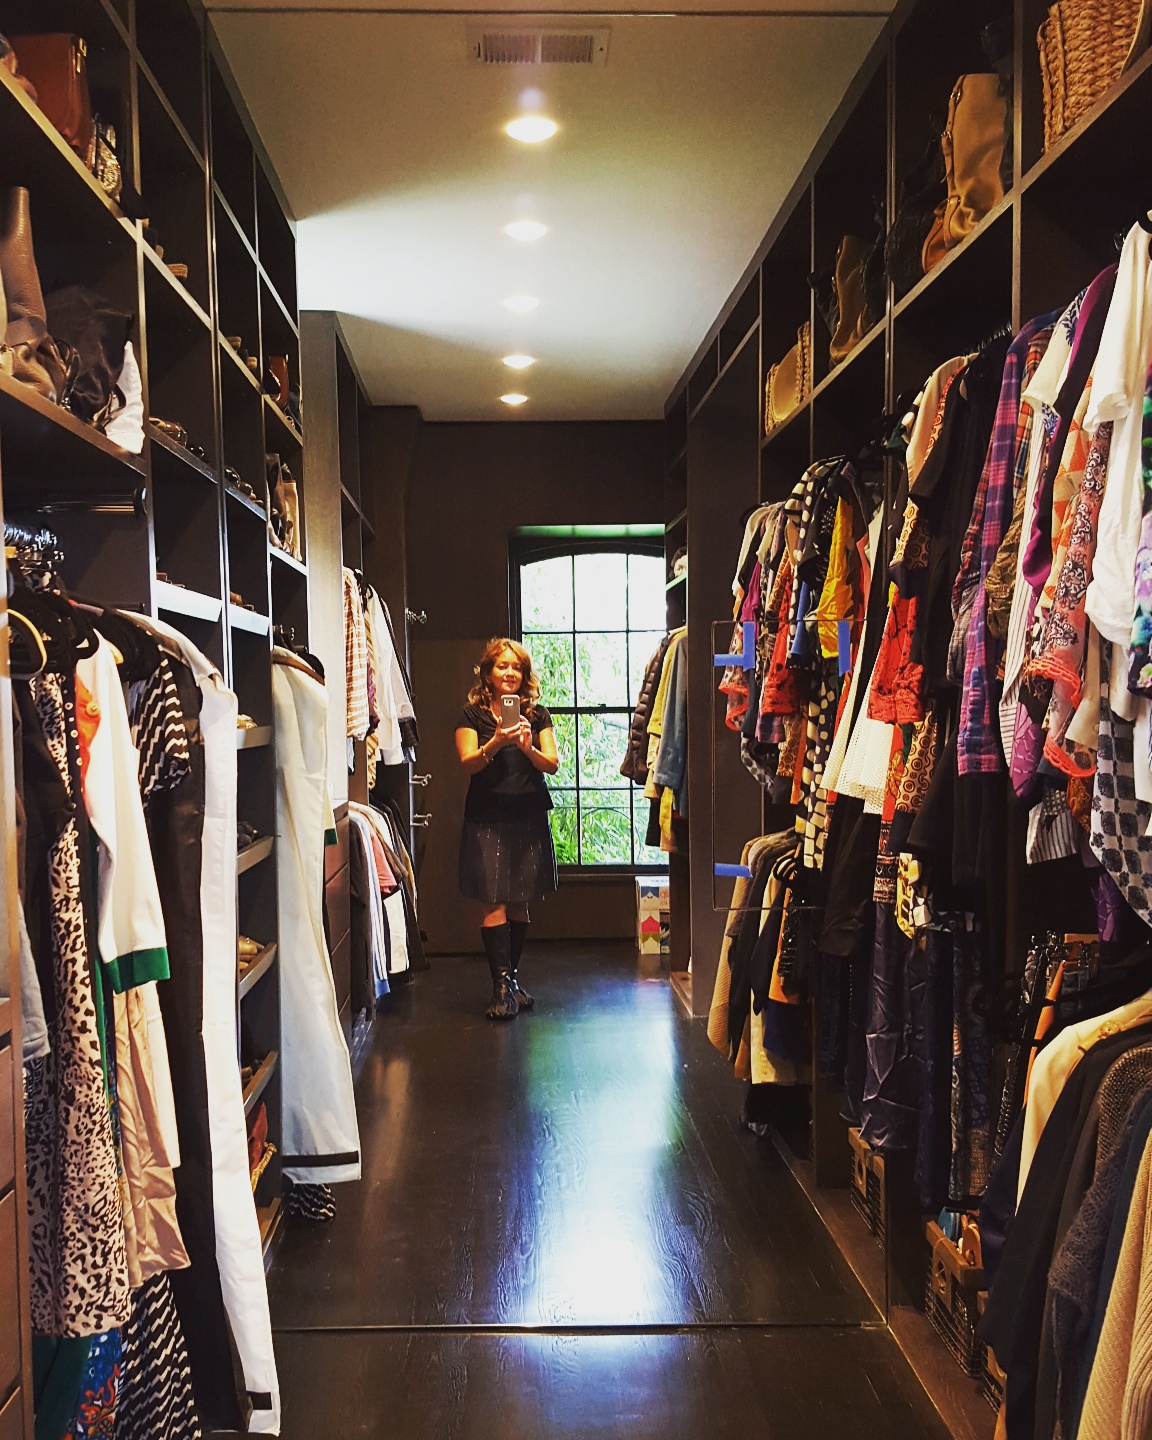
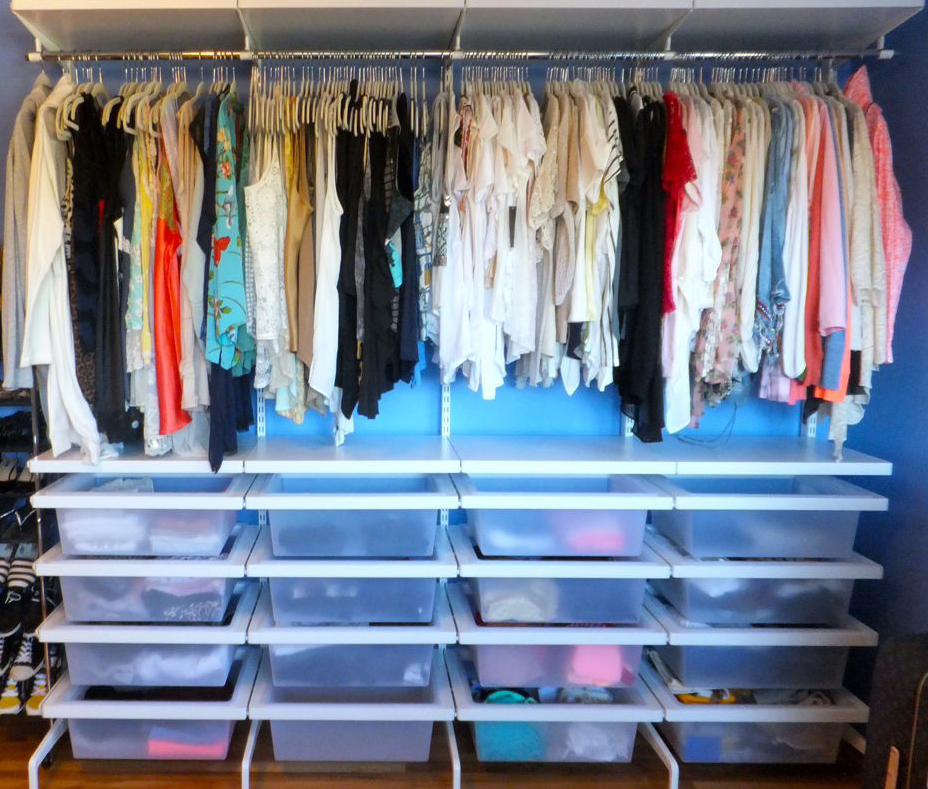
  • Hang as many clothes that comfortably fit into the closet. This includes tank tops, workout tops, and lingerie if there’s room and enough hangers. Hanging keeps things neat, wrinkly free, in sight, and easy to access. Arrange clothes like with like and in order: tanks (toward the front), sleeveless, short-sleeve, long-sleeve, sweaters, jackets (toward the back,) etc.
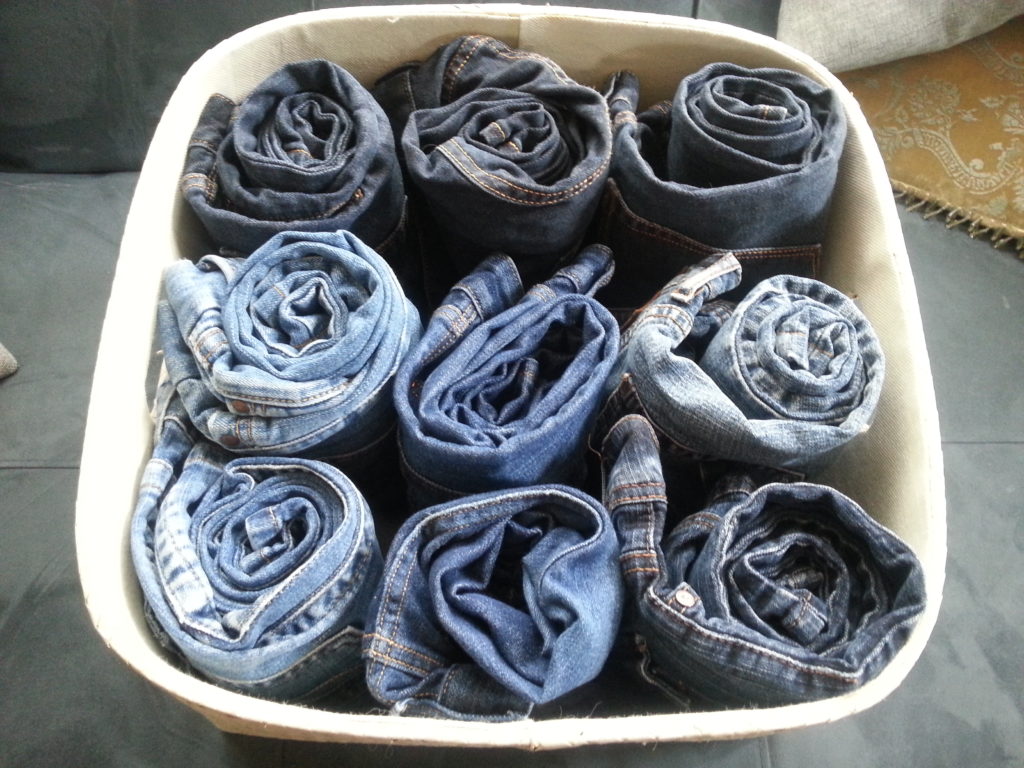
  • Neatly fold or roll clothes that go back into drawers, bins, or baskets. Here are tutorials for tips on How To Fold T-shirts, long socks and leggings, yoga pants.
  • Take an “After” photo of your fresh and clean closet and dresser drawers.

Considering selling or consigning unwanted clothing and accessories? Read about my favorite places to do that!

Ready to go a step further with closet organization? Read my blog on how to maximize closet space with hangers. 

Rolled jeans in a basket...my favorite!
Rolled jeans in a basket.

Bella_Organizing_Best_Professional_Organizers_San_Francisco_Oakland_Berkeley_silicon_valley_monterey

Isabella Guajardo, founder and owner of Bella Organizing, is a San Francisco Bay Area professional organizer offering home organizing and residential move management services throughout the Greater San Francisco Bay Area. Call (510) 229-7321 or email info@bellaorganizing.com for more information. Gift certificates are available.

Categories
Professional-Organizer

Declutter Pantry & Food Cabinets

Decanting Pantry Food


declutter

1. to remove mess or clutter from (a place).

2. to organize and prioritize (one’s commitments, material possessions, etc.)

3. to let it go

Declutter First, Organize Next. 

Pulling out what you no longer want is key to creating space and will make the organizing process smoother. Whether it’s clothing from a hanger, shoes from a rack, books from a shelf, paper from a filing cabinet, or toys from a bin, it’s time to make decisions on the things you are ready to let go. Focus first on decluttering. When the unwanted is out of the way, begin cleaning and organizing.

*** Read both steps before getting started, and choose how you will like to proceed. If you have a lot of food to go through and are limited on time, break the process up into the DECLUTTER step now and the CLEANING & ORGANIZING step later. ***

pantry_bella_organizing

Step One

Declutter the Pantry and Food Cabinets

  • Take a “Before” photo of the pantry or food cabinets.
  • Have on hand plenty of plastic trash or paper bags for 1) trash, 2) recycling, 3) compost 4) give away/donate items
  • Prep a bottle of all-purpose cleaner or mild soap, and a clean sponge or rag.
  • Grab a pen and pad of paper for notes.
  • One area at a time, pull out the old and expired food from the kitchen cabinets, pantry, refrigerator/freezer, even the emergency kit (make a list of what needs immediate replacement in the kit.) You may have heard that labels offer “suggested” expirations, but are you willing to take that chance?  
  • Compost expired food and recycle the packaging. If you have non-expired, non-perishable dry food you want to give away, set it aside in the “donate” bag. 
  • Make note of what you are buying too much of and prevent future waste.

Step Two

Clean and Organize the Shelves & Cabinets (can be done the same day or another)

  • If you didn’t already take everything out during the declutter process, do it one cabinet or shelf at a time. Place on a nearby table or countertop surface. Start sorting and place like with like. Your brain is making an important mental note of what you own.
  • Sort like items – soups, grains, beans, breads, snack foods, baking items, spices, breakfast items, drink (tea, coffee, cocoa, etc.) Keep like with like to find things faster and avoid buying duplicates.
  • Wipe empty food cabinets and pantry surfaces with a wet and warm, soapy cloth or all-purpose cleaner. Crumbs and goop accumulate over time, like on that bottle of honey. Keep ants and critters from sniffing out the goods and protect your cabinets with regular cleaning. Allow to completely dry before putting things away.
  • Put away like items together, labels facing forward when possible. Think “grocery store display.”
  • Take an “After” photo of your organized pantry & food cabinets.
Feel like getting a little more organized around the kitchen? Read up on how to make a Drink Zone.

Bella_Organizing_Best_Professional_Organizers_San_Francisco_Oakland_Berkeley_silicon_valley_montereyIsabella Guajardo, founder and owner of Bella Organizing, is a San Francisco Bay Area professional organizer offering home organizing, interior redesign, and residential move management services throughout the Greater San Francisco Bay Area. Call (510) 229-7321 or email info@bellaorganizing.com for more information. Gift certificates are available.

Follow our projects on: Facebook | TwitterInstagram | Houzz

Counties we serve:

Alameda | Contra Costa | San Francisco | Marin | Sonoma | Napa | Santa Clara | San Mateo | Santa Cruz | Monterey