Clear the old out and make room to breathe.

As with clothing, when I acquire shoes, I have a rule to let go of as many pairs as I bring in to make room for the new. It’s tough! But reality is, many of us only wear a few favorite pairs and let the others sit to gather dust.
Let ’em go when…
- They are worn to the breaking point, the sole or heal is warped, torn, or coming off and you’re not willing to drop them off at a shoe repair shop this week to fix.
- They have not bedazzled your feet for a year or two. Like clothes, if shoes are not worn over the last winter, spring, summer, nor fall, they probably never will be. Do you own a pair of special occasion shoes? Have you worn them lately? Are they covered with dust so thick you can no longer tell the color? Are they still in style?
- They are no longer your color, size, style, or worth the pain. No longer your color? Are they a style from an era long past that you shouldn’t be revisiting? Has the size of your foot changed? Do they hurt your feet? There’s no such thing as a “break in period” with shoes, in my opinion. If they hurt on day one, they don’t belong on your body. Your feet are precious, and bad-fitting shoes can do serious damage.
- They are ugly or dirty beyond cleaning. We are known to buy things we don’t truly like because it’s on sale, or keep something that was a gift and feel bad at the thought of getting rid of it. “What if Aunt Wanda comes over and doesn’t see me wearing them?” Aunt Wanda probably gave you the shoes she bought on sale for herself and realized she didn’t like them when she got home. “They just need to be shined and they will look great!” If so, now is the time to take out the polish and get the job done, or drop them off at the shoe repair shop this week for a professional cleaning.

When it’s time to let go…
Step One – Declutter
- Take a “Before” photo of your shoe space.
- Prepare the floor or a large nearby surface to place shoes onto. Use an old sheet or blanket you’re willing to get dirty if using the bed.
- Have on hand plenty of bags for donations or consignments.
- Grab a pen and pad of paper for notes or use the notepad on your cell phone (“Take shoes for cleaning and repairing.”)
- Prep a bottle of all-purpose cleaner, a rag, broom, or vacuum cleaner.
- Grab a shoe brush and the shoe polishing kit. Don’t have one? A clean, soft rag will do.
- Go through each pair of shoes, and put what you no longer want in the “Donation” or “Consignment” bags. Set aside each pair you keep.
Step Two – Clean
- Dust, sweep, mop, or vacuum the area where you will put the shoes back. So many dust bunnies! Dust is made up of dead skin cells, pet dander, dirt you’ve trekked in on your shoes, pollen, and other things from outside. This is a reason why so many people have “no shoes” rules in their homes.
- Dust each pair of shoes thoroughly with a shoe brush or clean rag. Do this outside or out an open window. You can also gently vacuum dust from inside each shoe with an attachment hose.
- If you have time, polish the shoes that need it most before putting them back. Or set those aside to be professionally cleaned, polished, or to repair.
Step Three – Organize
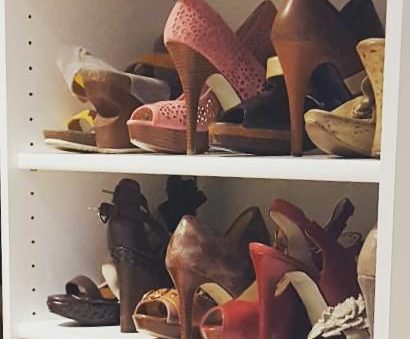
- If going back onto a shelf, rack, or the floor, display shoes front forward as you find them in a department store.
- If you need to maximize space, place one shoe forward and the other in the opposite direction, heel showing. This magically creates space both on shelves and in hanging shoe nooks. Try it!
- Still not enough room? Place sandals and flats upright in a basket to store on a shelf or the floor.
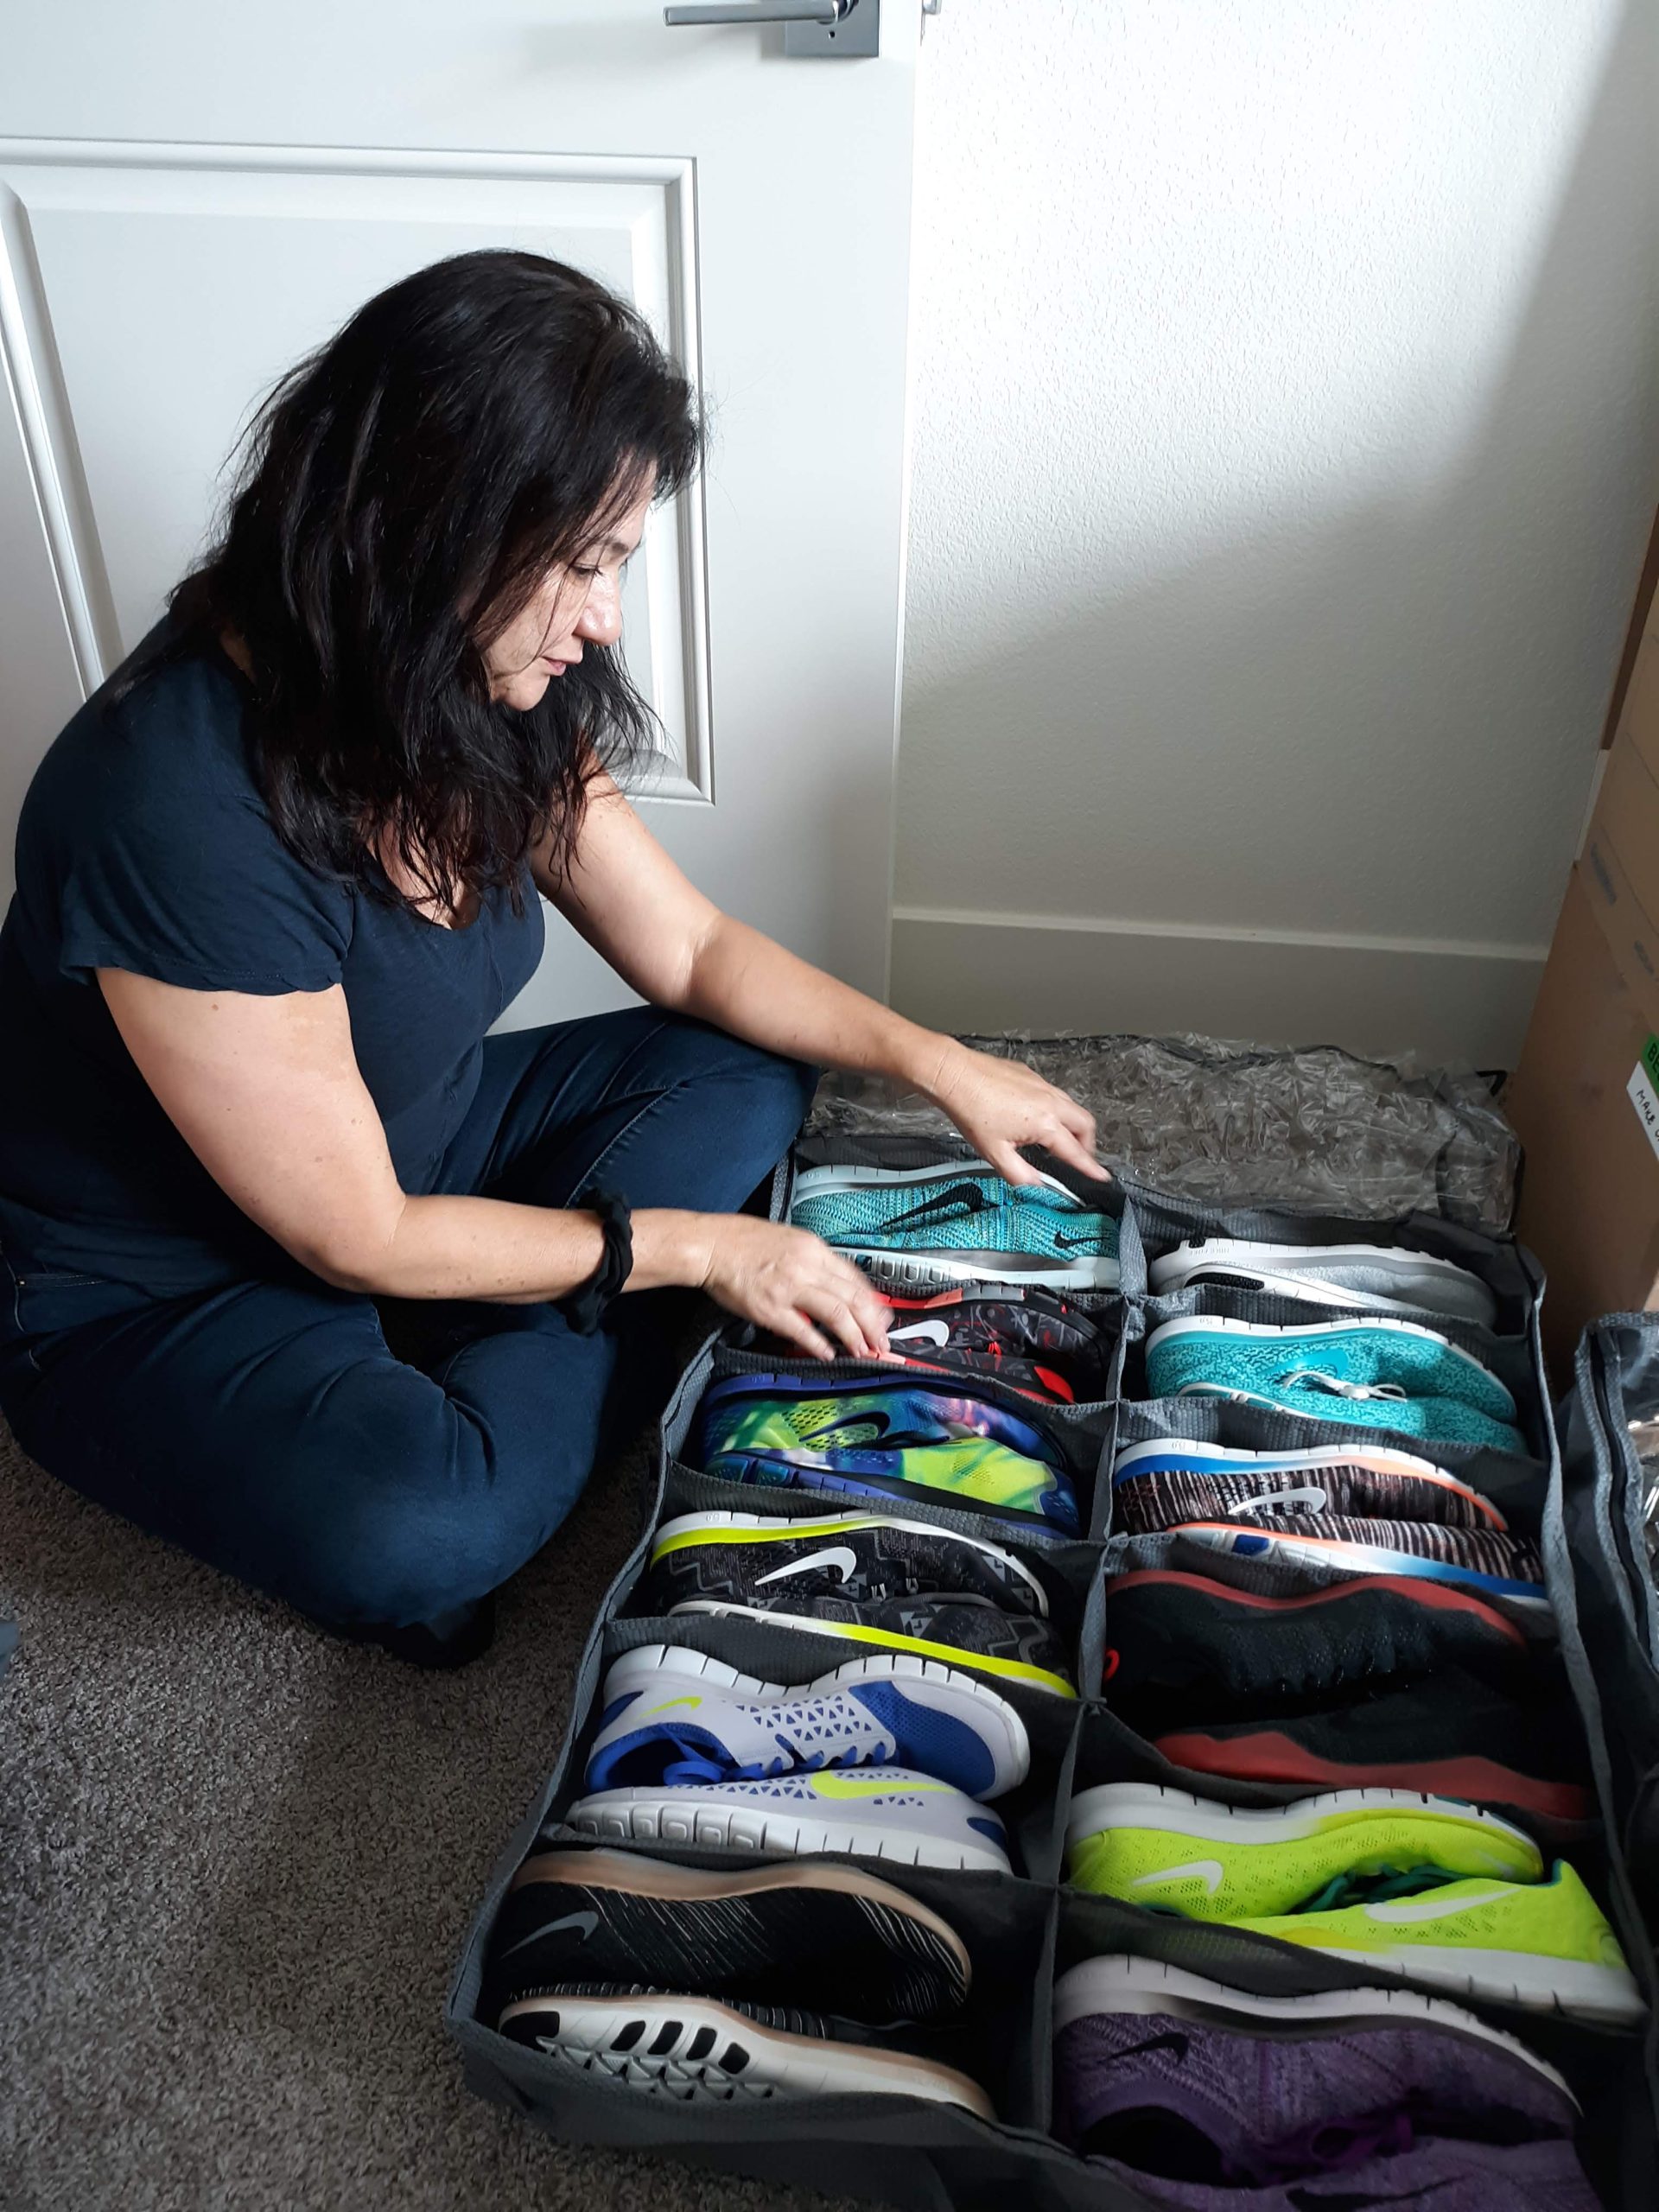
- Use an under-bed shoe organizer that zips closed and is easy to quickly slide out to grab what you need.
- Roll up old magazines and place inside tall boots to help keep their shape.
- Take an “After” photo of your fresh and organized shoe space.

Considering selling or consigning unwanted shoes? Read about my favorite places to do that!

Isabella Guajardo, founder and owner of Bella Organizing, is a San Francisco Bay Area professional organizer offering home organizing and residential move management services throughout the Greater San Francisco Bay Area. Call (510) 229-7321 or email info@bellaorganizing.com for more information. Gift certificates are available.


